Copyright TheBeachcats.com
Please Support
TheBeachcats.com
Ever thought about building your own catamaran? Here's an illustrated guide to one sailors project building a beautiful A-Class catamaran out of plywood. A big thank you to the builder, Chris Williams, for letting me share his work with the rest of the beachcat sailors.
| This is the first step in building a catamaran.
A skill, known in boat building as lofting, the skins which will make the hull are cut out of the lengths of plywood. The front and rear bulkheads are also cut out along width the center board cases |
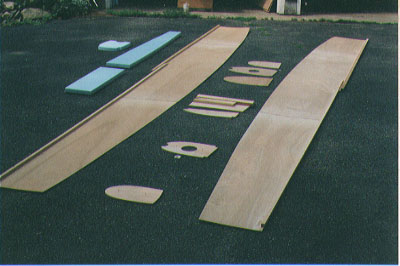
The structural subdecks made of 1.5 inch polystyrene foam are cut also, all with jig or saber saw. The gunwhales are made of spruce strips which are ripped on the table saw and glued to the top of the skins |
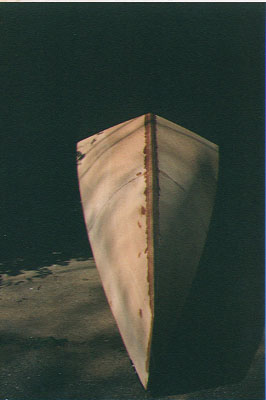
The skins are wired together at the keel and sewn together at the bow. The keel of the skins is then glued together with two strips of bidirectional fiberglass. On top and bottom |
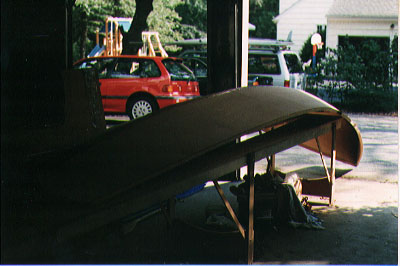
The angle of the keel is important because this will create the shape of the hull. Exact spreaders are cut to maintain the precise angles along keel. The fiberglass tape locks an acute angle on the keel towards the front of the boat, and a more obtuse angle towards the rear.
|
A jig must be constucted to conform the hull to shape. The jig is a large 20ft long table with many structural members to give it strength against the pressure of the hull skins. The hole in the jig is shaped to the final shape of the top of the hull. 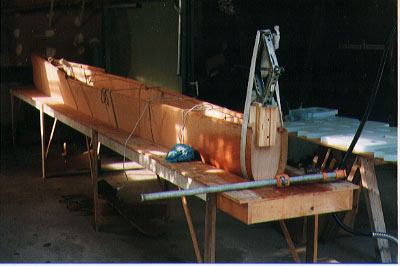
The skins must be folded up gradually as to not break the plywood with the extreme of the bending. Small strings and ropes are used to snug the hull, and gradually slide it into the jig. |
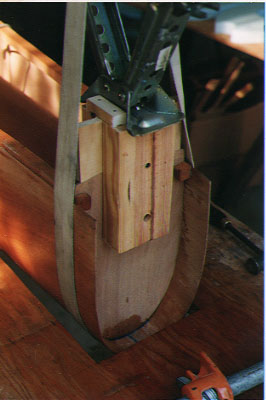
The rear of the hull contains the tightest curvature of plywood, and a blank was made in the shape of the transom. Webbing and a car jack were used to apply enough pressure to make the plywood bend to the severe curve which is located at the transom of the boat.
|
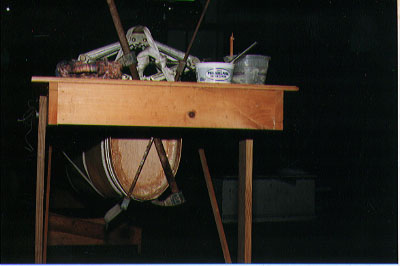
Steam is applied to the wood, and Clamps were used to stop cracking in the most likely of spots.
|
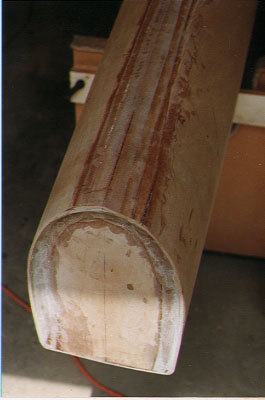
Newer catamaran designs have shown that thinner, narrower hulls produce faster boats, with better upwind capabilities. This produces very tough construction problems because of the extreme curvature of the plywood near the transom of the hull. The crack above took many days to repair to a uniform surface. |
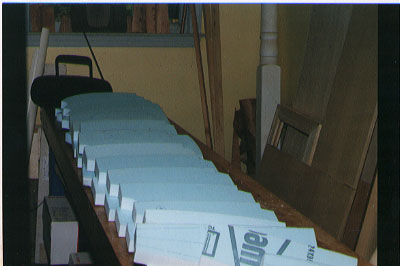
Polystyrene foam spacers are cut on the band saw. All these spaces must be correct and precise to achieve good hull shape and solid structural design. Holes must be cut in all of the foam spacers to allow air to travel up and down the hull. This is necessary when your boat strikes a wave.
|
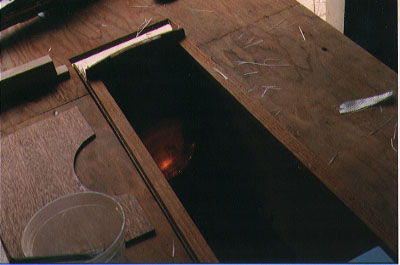
The transom is put in with laminated plywood in its center to cope with the stresses of the rudder fittings on the transom. An epoxy fillet is put along the intersection of the skins and the transom., then fiberglass tape is placed on top of the fillet along the intersection, and saturated with epoxy. |
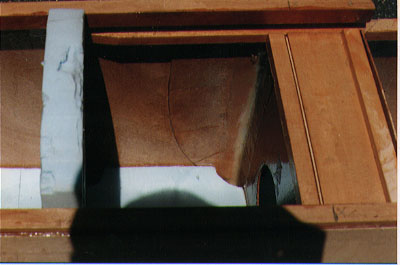
Similar glass and filet techniques are used at the plywood bulkheads. If you look closely you can se the plywood stretcher which is placed along side the bulkhead this serves to distribute the forces on the bulkhead from the crossbeams. A setup involving laminated spruce blocks glued to the sides, gunwhales and bulkheads serves as an anchoring point for the crossbeams.
|
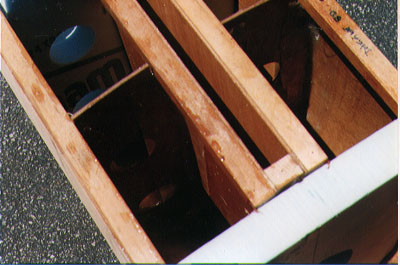
Dagger board cases constructed from plywood and spruce spacers are put in along with plywood spacers to anchor the dagger board case to the side of the hull. Complicated filleting and fiberglass is used to anchor the dagger board case to the rest of the hull. If your dagger board hits a rock while you are sailing along you are much better off having it crack and snap off versus having your hull crack. This is why heavy reinforcement work on the case. The foam spacers are glued in place with epoxy with filler added. |
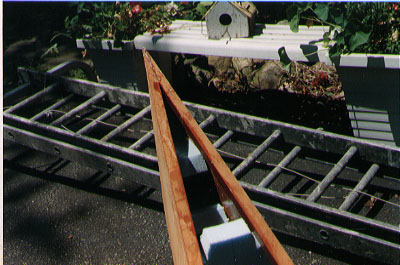
Some foam pieces are pushed into nose to spread and strengthen nose. Having more floatation forward helps the boat perform better in choppy conditions.
|
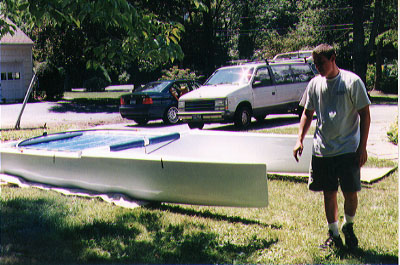
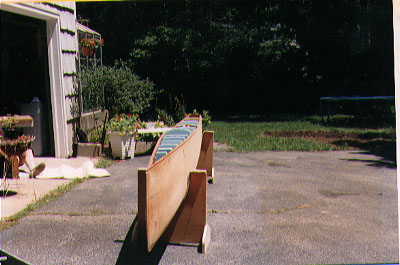 Take boat outside and admire handywork. Take boat outside and admire handywork.
|
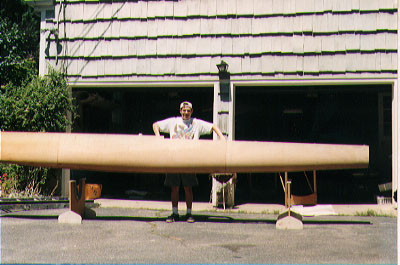 Wow only 26 pounds I am so strong!! Wow only 26 pounds I am so strong!! |
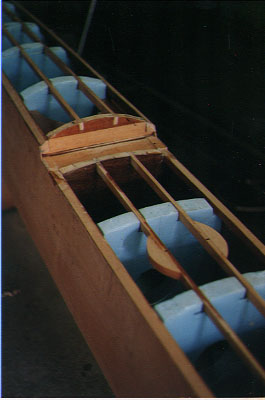 Spruce stringers run along top of the deck so you don't crash through. Spruce stringers run along top of the deck so you don't crash through. |
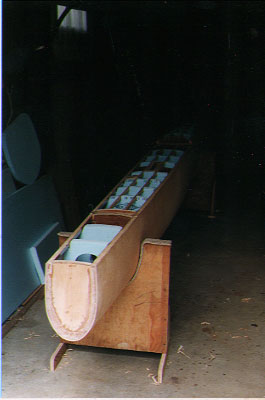
Plane gunwales to the bevel of the top of the boat. Epoxy on decks using staples and packing strips for pressure. Route and Plane off excess. Cut centerboard slots, fiberglass front gunwhale. |
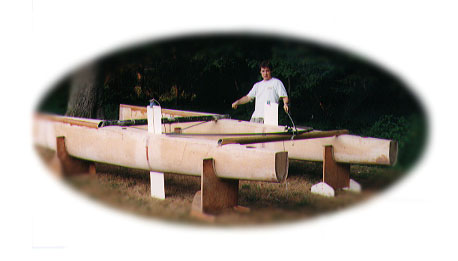
Test fit beams and become disillusioned that you are nearly done. Use ridiculous amount of filler (don't breath the stuff), epoxy, and sanding to get dynamite finish Saturate boat with 3 coats epoxy. |
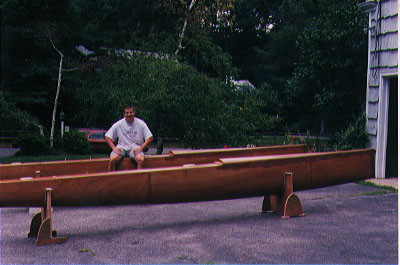 |
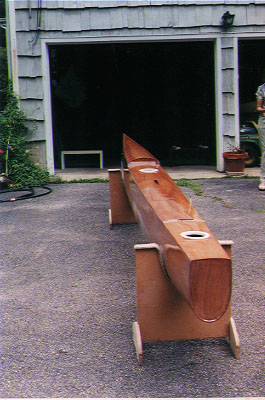
Coat with 2 coats primer followed by 3 coats two part polyurathane |
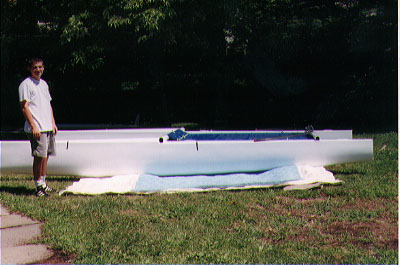
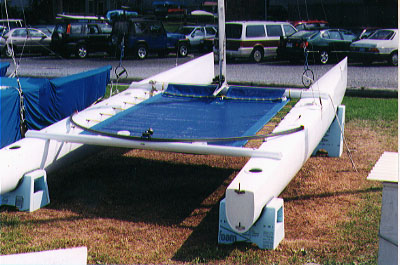
Add custom tramp and color beams to match |
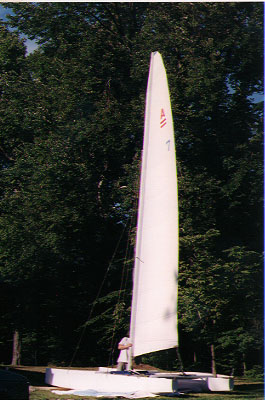
Add on mast and sail (I purchased the rig off a guy in Carolina whose boat was destroyed in Hurricane). |
Maden voyage on Long Island sound. |
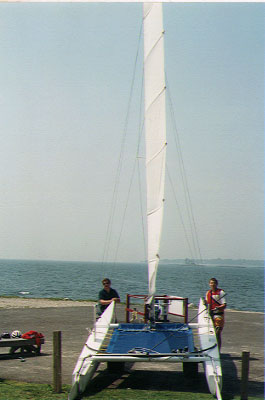
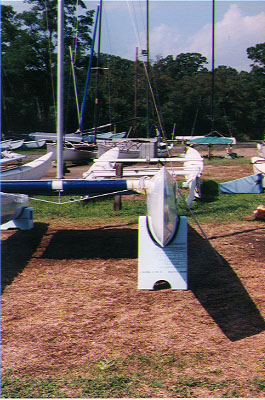
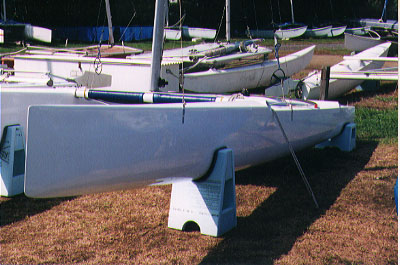
Looking fast standing still. |
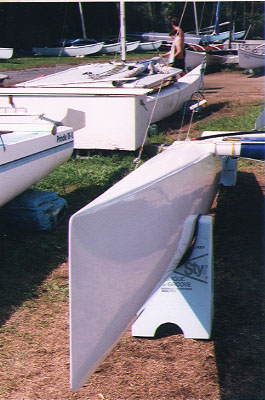 |
 |
 |
 If you'd like to know more about this project contact: If you'd like to know more about this project contact:
Chris Williams, Aclasschris AT yahoo.com . |
Comments
Add a new commentthanks woodguy
oh ... any pics on the water would be great !!
THX
can you tell me where i can find plans for this catamaran a class.
contact me samuelghoost@gmail.com
greetings samuel
can you tell me where I can find plans and eventually other pictures of this phantastic catamaran a class?
Please contact me
vxvictor65@gmail.com
Greetings,
Vittorio